Instructions
Step 1
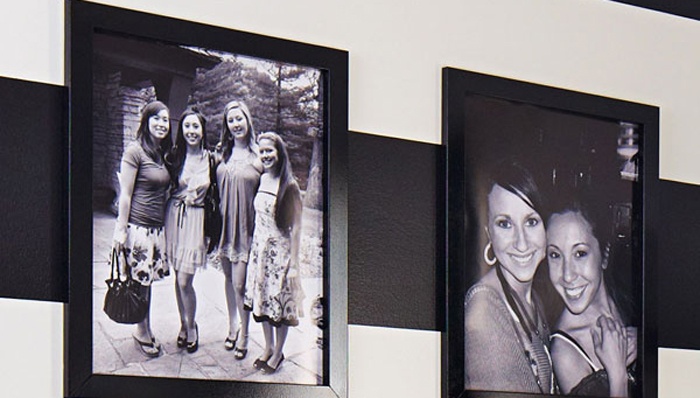
Have a copy shop print the picture to be framed on stiff paper (called “card stock”). To determine the lengths of frame pieces cut from 1-1/2-in-wide material, subtract 1-in from the height and width of the picture to create a 1/2-in overlap on each frame side. That measurement becomes the inside length of the mitered frame pieces. For the outside length of a frame piece, double the width of the material used (1-1/2-in) and add that number to the inside length. For the 12-in x 15-in picture shown here, that means you’ll want the frame pieces 14-in and 17-in long on the outside edges.
Step 2
Cut four oversize frame parts about 1-in longer than their final outside lengths. Rotate the miter saw table counterclockwise to 45 degrees and miter-cut one end of each part to place against a stop block.
Good to Know
By starting with the long pieces, you can avoid wasting material if you accidentally cut a frame side too short. Simply save that piece to cut for a short side.
Step 3

Miter cut one end of a 6-in-long piece of the frame material to use as a stop block. Rotate the saw table clockwise to the opposite 45-degree setting and adjust the stop block to cut the longer frame side to length. Cut both pieces to identical lengths. Then readjust the stop block to suit the shorter frame pieces and cut them to length.
Step 4

On a flat surface, lay the frame parts in alternating lengths end to end. Tape the outside of the frame where the miter tips touch. (There should be no space between the frame pieces.)
Step 5

Apply glue to one side of each pair of miters and bring the ends together. Tape the remaining corner, press each corner flat against the work surface to make the frame pieces flush. Let dry and remove the tape.
Step 6

Place a corner brace about 1/8-in from the outside edges of a corner and mark the locations of the screw pilot holes. Drill pilot holes and screw the brace in position. Repeat for the remaining braces.
Step 7

Screws supplied with the braces are nearly as long as the thickness of the frame material, but you’ll need to drill pilot holes just short of poking through the front face or the screws will split the MDF. To keep screws from reaching the front of the frame, drive a screw into each pilot hole three-quarters of its length and back it out. Using a grinder or file, remove the sharp tip of the screw and finish attaching the braces.
Step 8

Center a hanger along the upper back edge of the frame and nail it in place. Add putty or spackling at the corners as needed and let dry. Then apply two coats of spray paint to the frame and let dry.
Step 9

Join us on :
Facebook Twitter
Save Your Money and Time